Detect Car AC Refrigerant Leaks: Pro Methods
Refrigerant leaks are the silent killer of car AC systems. Learn the 5 professional detection methods, common leak locations, and how to prevent them from happening.

The Hidden Problem: AC Refrigerant Leaks
Unlike engine oil or coolant leaks, refrigerant leaks are invisible. The refrigerant evaporates almost instantly upon escaping the system, leaving no visible puddle under your car. This makes them notoriously difficult to detect — and easy to ignore until the entire system fails.
A slow leak can drain your AC system over months or years, gradually reducing performance until one day the compressor runs without enough refrigerant and overheats, resulting in a catastrophic and expensive failure.
Signs You Might Have a Refrigerant Leak
Before diving into detection methods, here are the clues that suggest a leak:
- Gradual cooling loss: The AC cools less effectively over weeks or months
- Ice on AC lines: Low refrigerant causes the evaporator to freeze, visible on lines under the hood
- Oil stains around AC components: Refrigerant carries compressor oil — where the refrigerant leaks, oil accumulates
- Compressor cycling rapidly: The low-pressure switch repeatedly engages and disengages the compressor
- Need for frequent refills: If you've had to recharge your AC more than once in 2-3 years, there's definitely a leak
5 Professional Leak Detection Methods
1. UV Fluorescent Dye Detection
How it works: A small amount of fluorescent dye is added to the refrigerant. The system runs normally, and the dye escapes with the refrigerant through any leak points. A UV light makes these leak points glow bright green-yellow.
Pros: Finds even the smallest leaks. Visual confirmation of exact leak location. Dye remains in the system for future checks.
Cons: Takes time — may need to drive for days before small leaks show. Some systems have multiple leak points that need separate identification.
Best for: Small, slow leaks that are hard to find with other methods.
2. Electronic Leak Detector
How it works: A sensitive electronic sniffer detects the specific chemical signature of refrigerant. The technician moves the detector around all AC connections, seals, and components, listening for an alarm indicating leaked gas.
Pros: Fastest detection method. No additives introduced to the system. Can detect leaks in real-time.
Cons: Can give false positives in contaminated environments. Sensitivity varies between detectors. Won't find a leak in a completely empty system.
Best for: Moderate to large leaks with refrigerant still in the system.
3. Nitrogen Pressure Test
How it works: The AC system is pressurized with nitrogen gas to a higher pressure than normal operating conditions. The technician then listens for the hiss of escaping gas and uses soapy water to identify exact leak points (bubbles form at the leak).
Pros: Very reliable. Works even when the system is empty. Can test at higher pressures than the system normally sees.
Cons: Requires the system to be evacuated first. Doesn't use actual refrigerant, so some seal-related leaks might not show.
Best for: Systems that are completely empty or when a thorough check is needed.
4. Soap Bubble Test
How it works: A soapy solution is applied to suspected leak areas while the system is charged and running. Escaping refrigerant creates visible bubbles at the leak point.
Pros: Simple and inexpensive. Provides visual confirmation. No special equipment needed beyond the soap solution.
Cons: Only works for larger, accessible leaks. Can't detect micro-leaks or leaks in hidden areas (like the evaporator inside the dashboard).
Best for: Quick checks of accessible connections and hose fittings.
5. System Isolation Test
How it works: Different sections of the AC system are isolated using valves, and pressure is monitored independently in each section. The section that loses pressure contains the leak.
Pros: Narrows down leak location quickly in complex systems. Can identify which component or section needs attention.
Cons: Requires specialized valve equipment. Doesn't pinpoint exact location within the isolated section.
Best for: Complex systems or when standard detection methods have been inconclusive.
Most Common Leak Locations
Knowing where leaks typically occur helps in both detection and prevention:
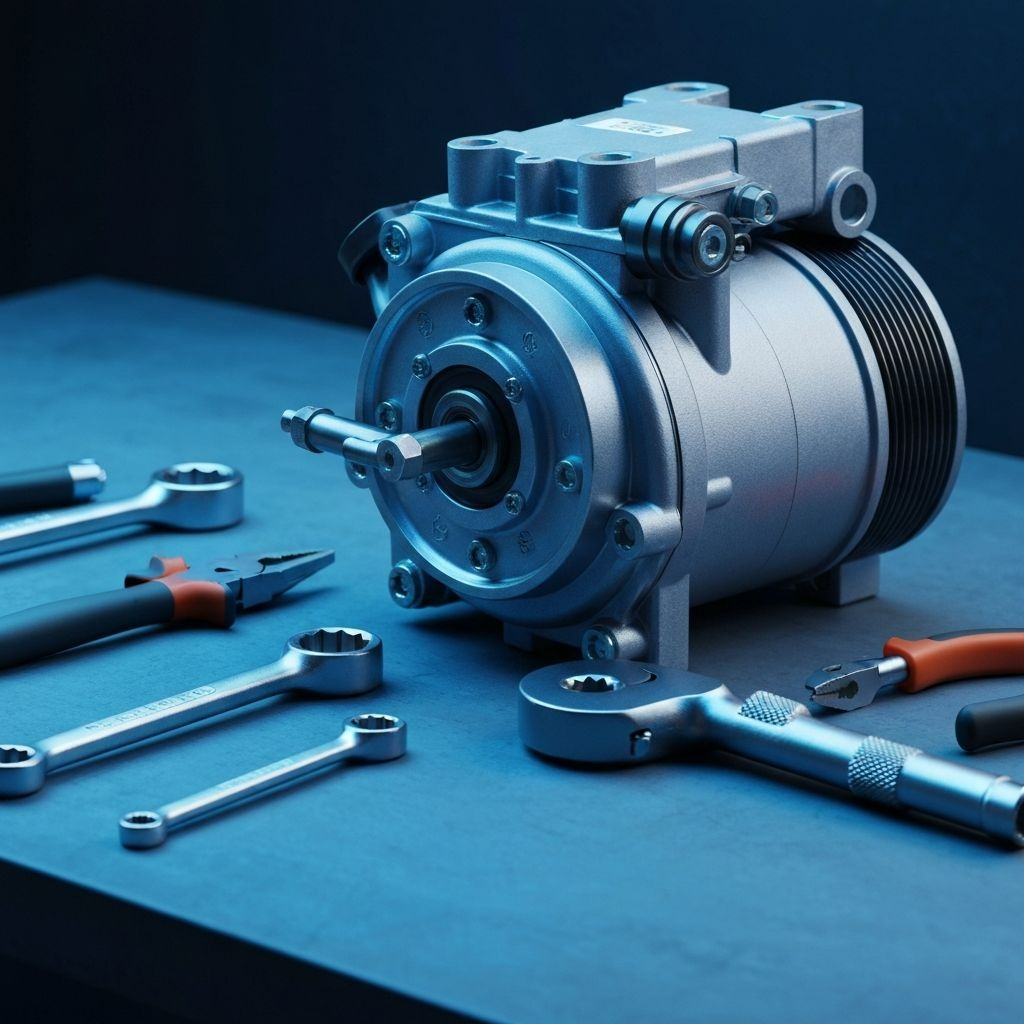
- Compressor shaft seal — The rotating shaft seal is the most common leak point, especially in systems that aren't used regularly.
- Condenser — Located at the front of the vehicle, exposed to road debris impact.
- Evaporator — Hidden inside the dashboard, making leaks here particularly expensive to repair.
- Hose connections — O-rings and sealing surfaces at hose fittings deteriorate over time.
- Schrader valves — The service port caps can leak if the valve cores are worn.
- Receiver/drier — Corrosion or seal failure at connections.
Prevention Strategies
- Run the AC weekly to keep compressor seals lubricated
- Address performance changes immediately — don't wait for total failure
- Use only the correct refrigerant type for your vehicle
- Ensure qualified technicians service your AC to avoid damage during maintenance
- Replace O-rings and seals during any AC component replacement
- Inspect the condenser regularly for physical damage from road debris
Early leak detection and repair saves thousands of dollars in prevented compressor failures and extends the life of your entire AC system.